In this post I will show how to create an air gapped network in Proxmox where you can add your vulnerable VM’s, an attacking machine and Security Onion for monitoring.
Now why would you want this?
As a penetration tester, you need to know how a blue team will be able to track you down and stop you. As a pen tester you should actually be happy when you get caught. This shows that the network got good security and detection, right? Well if you bust the door open and make a huge noise, you will be noticed. Even if the network you are testing does not really have good security. That will not be of any use for the client. An adversary will try their best to be as covert as possible. A penetration tester should try and mimic that behavior in order to give a more accurate report at the end of the engagement. Using the tools that the blue team would be using gives you the insight to know how to be more covert. This is why you need Security Onion or similar tools.
As a defender, you need to know how to use the tools of the trade. You need to know what to look out for in order to defend against it. I also believe that some basic penetration testing skills will give you a huge advantage as you will be able to spot things easier. That is why you would want to have this setup in your home lab and learn some attack techniques too. You also might want to play around with some dangerous malware which you don’t want to let loose on your network. So an air gapped network will be a very good idea.
How to Install Security Onion on Proxmox
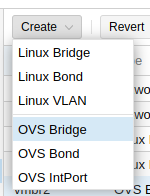
Create the Bridges (Virtual Switches)
If you do not have Open-V Switch installed, run the following commands (as root):apt updateapt install openvswitch-switch
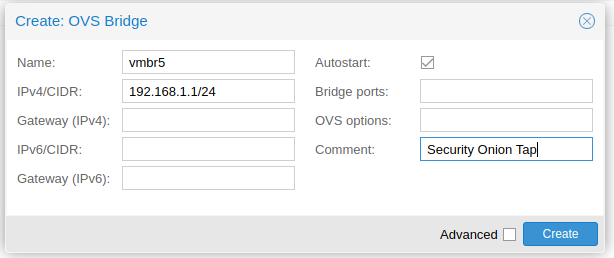
Now I will create the 2 bridges.

Create the Security Onion VM
It is important to note that Security Onion wants the following minimum hardware:
CPU – 4 cores (I only have 2 core available and it is slow!)
RAM – 12GB
HDD – 200GB
NIC – 2
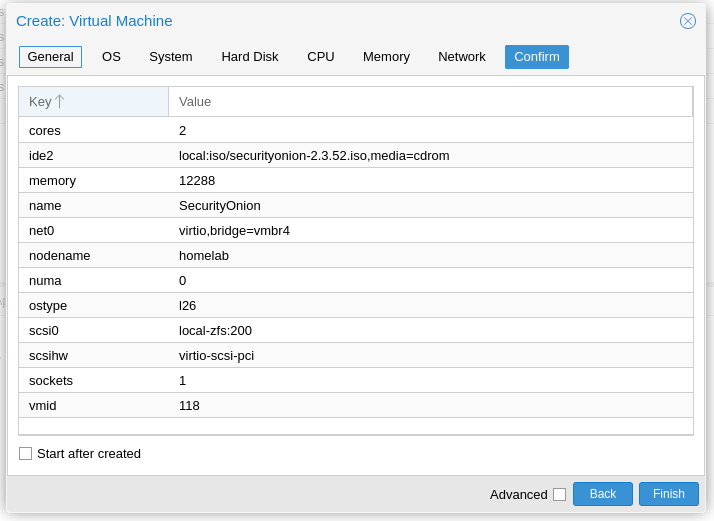
Ensure that the first NIC is connected to the Management Interface Bridge (vmbr4 on mine).
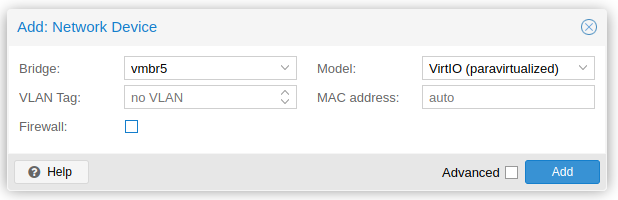
Add one more NIC. Connect this one to the Tap Bridge (vmbr5 on mine).
I also unticked the firewall on both so that we don’t have anything that may interfere.
Security Onion Installation
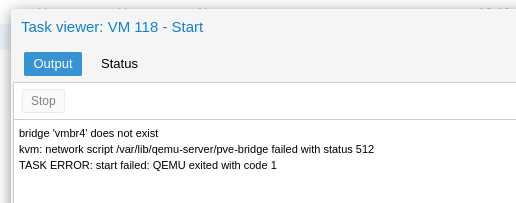
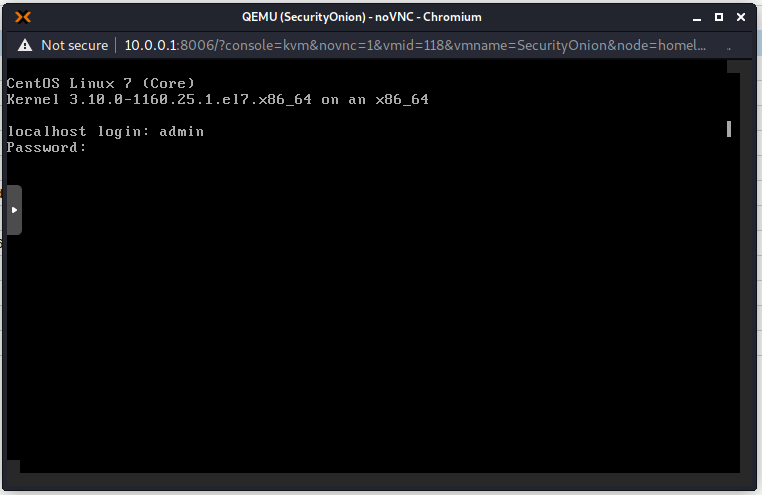
Start your VM. If you get this error message then you need to apply the network configuration. If you are not using ifupdown2 then you need to restart your Proxmox node.
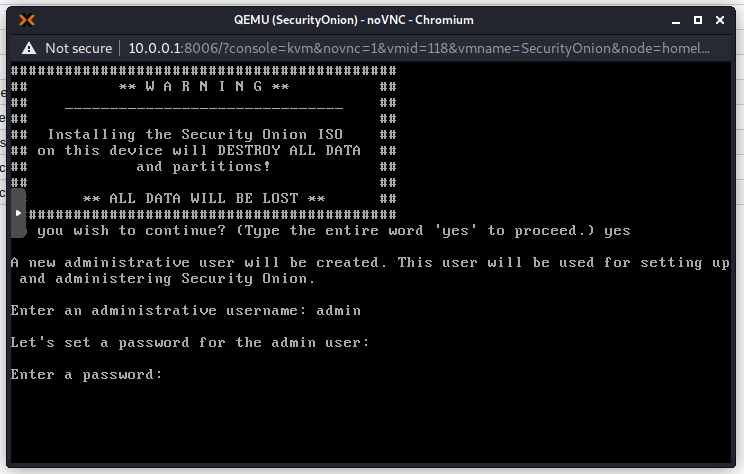
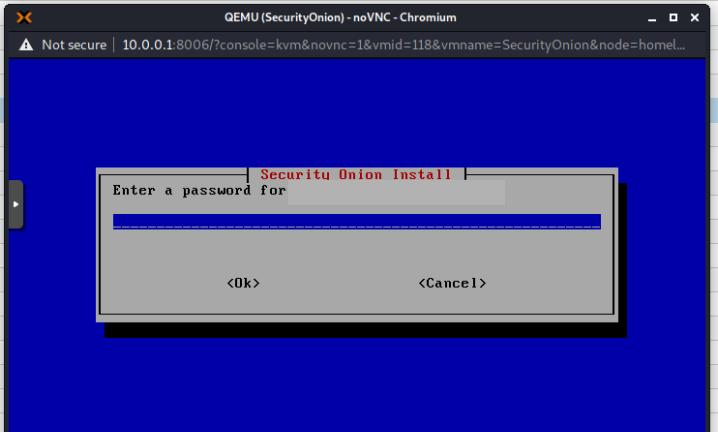
Now choose your administrator username and password.
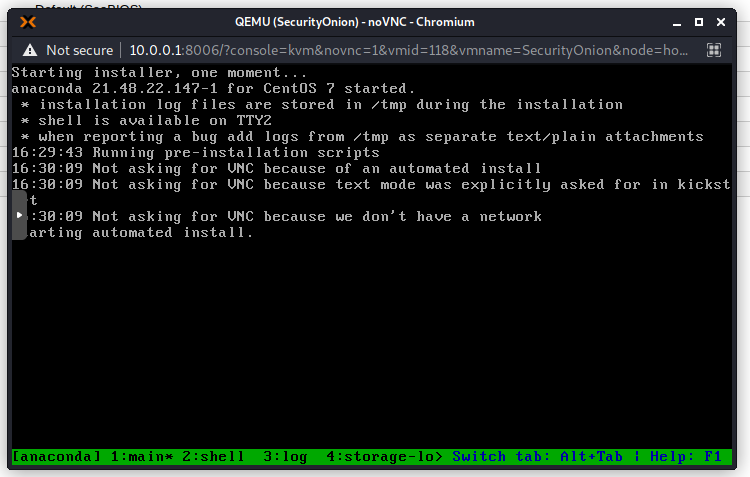
The install script will start running. My system is quite slow and this took about 15 minutes.
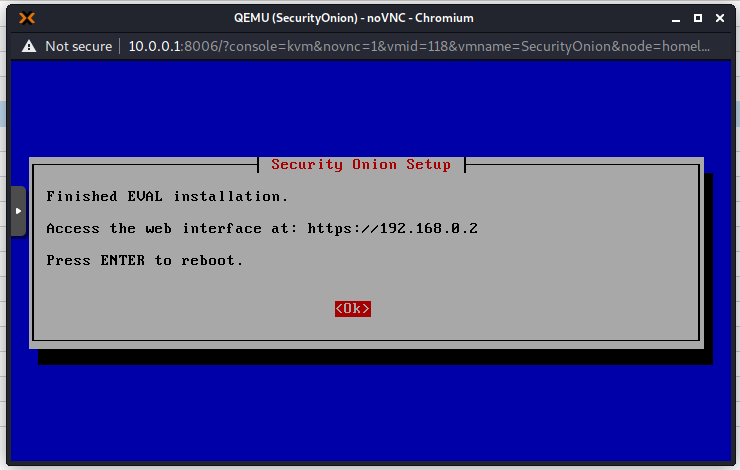
When the installer completes your will be greeted by this screen:
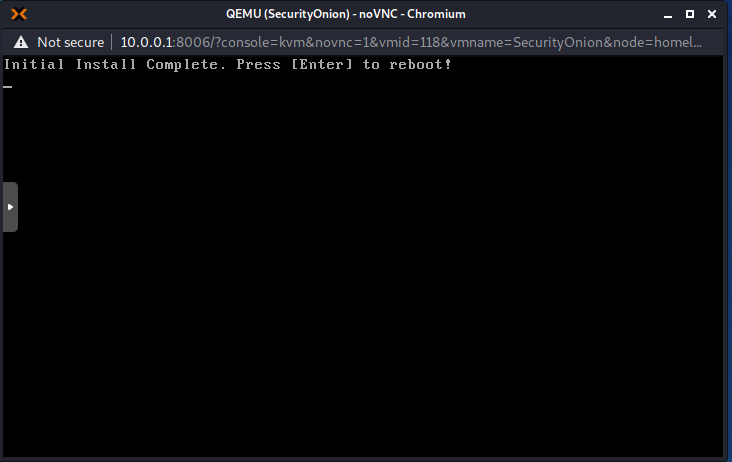
Press Enter to reboot and you will be asked to enter your credentials again. This is the admin username and password chosen earlier.
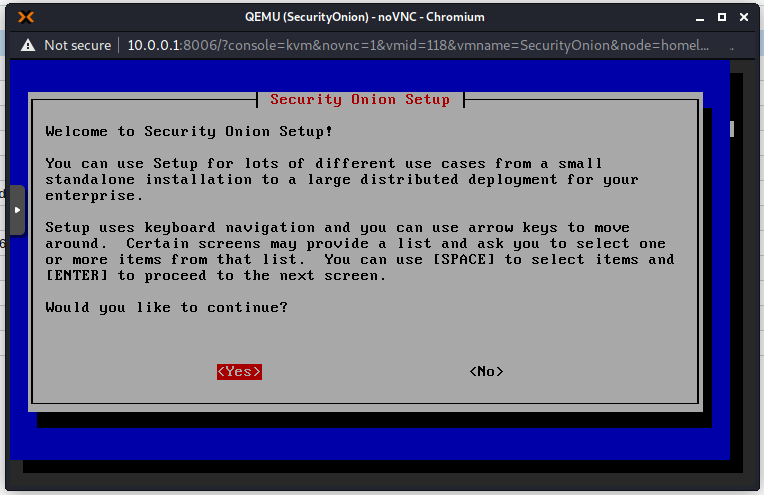
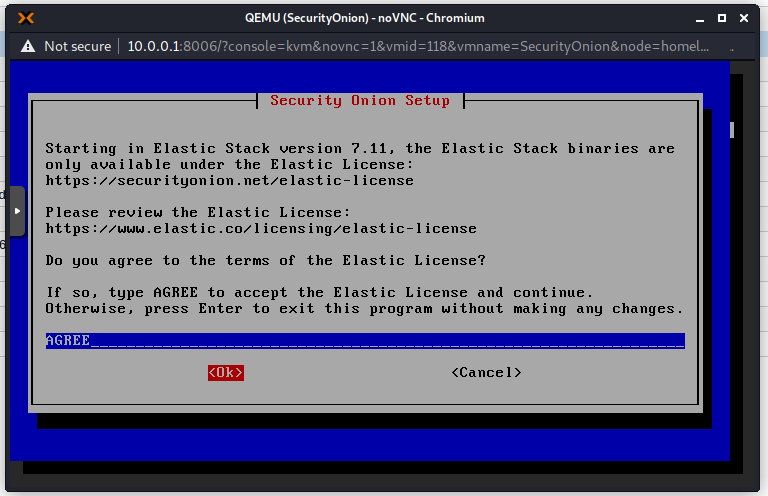
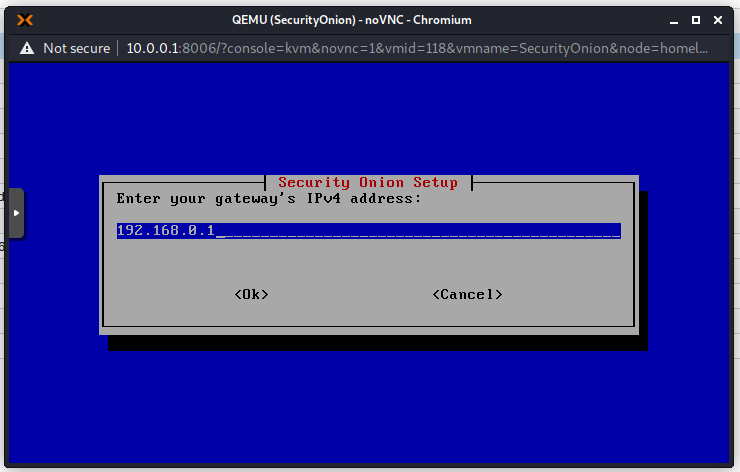
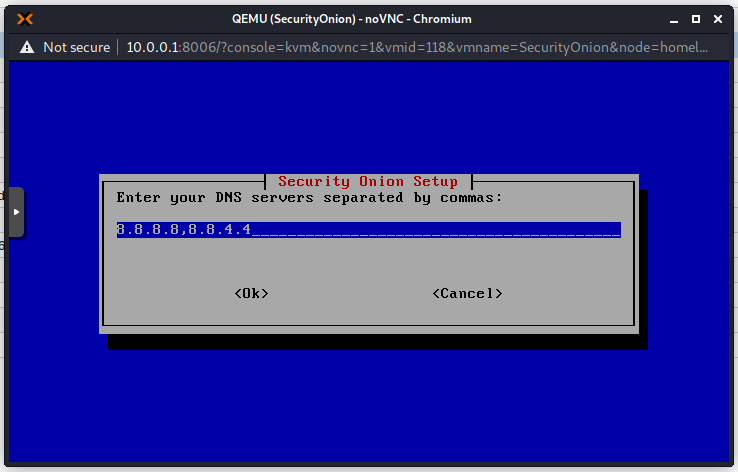
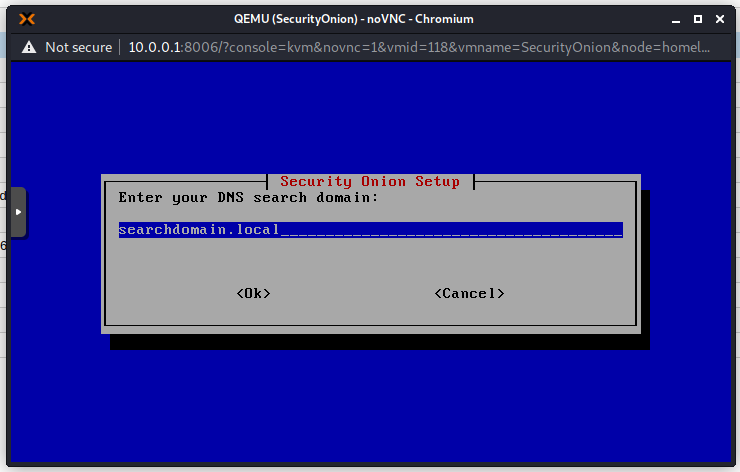
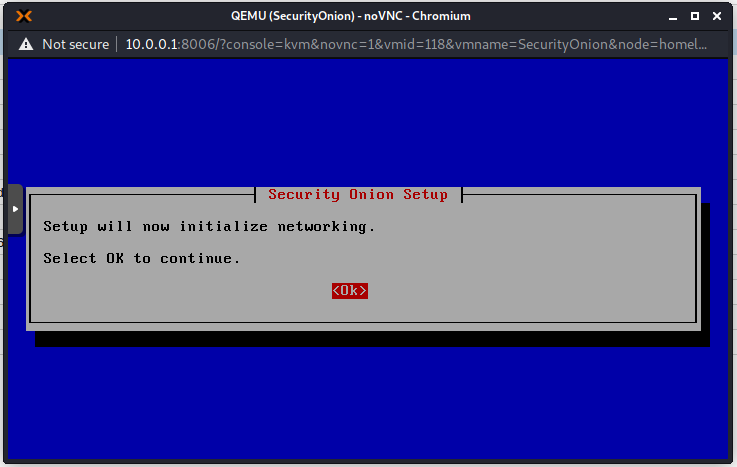
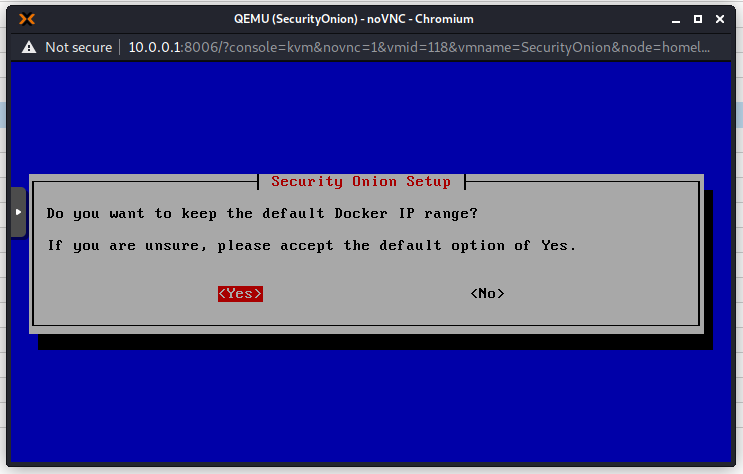
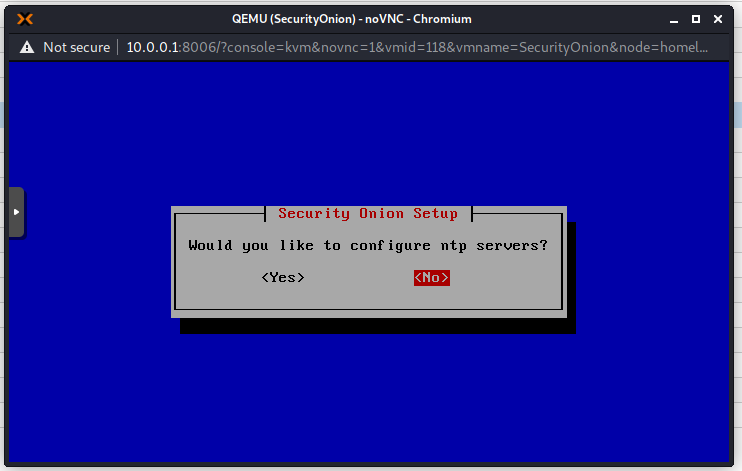
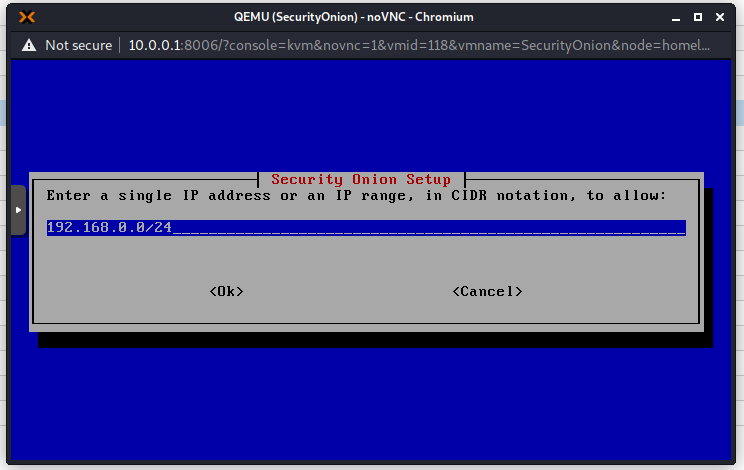
Follow the On Screen instructions. I will show all steps here if you would like to follow along.
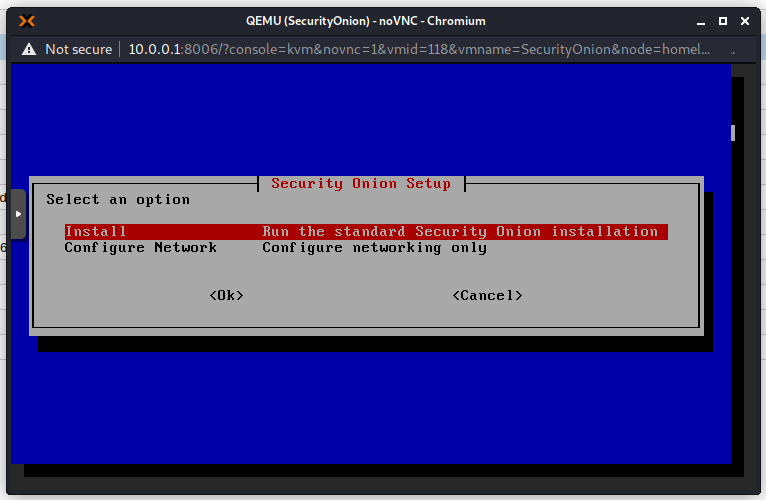
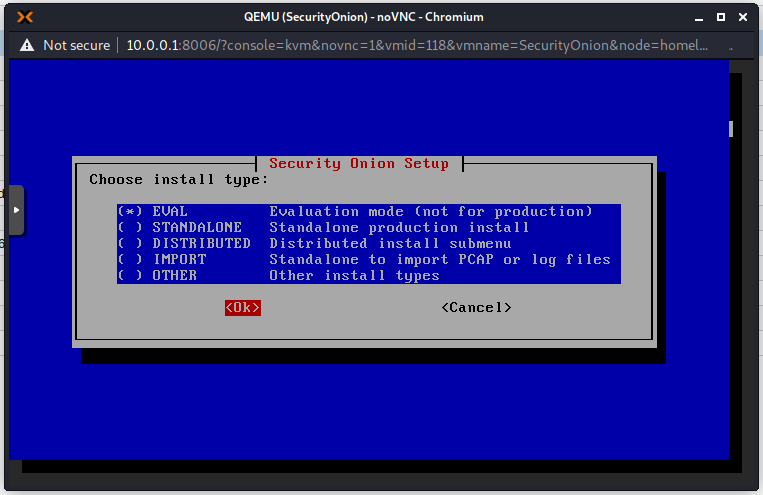
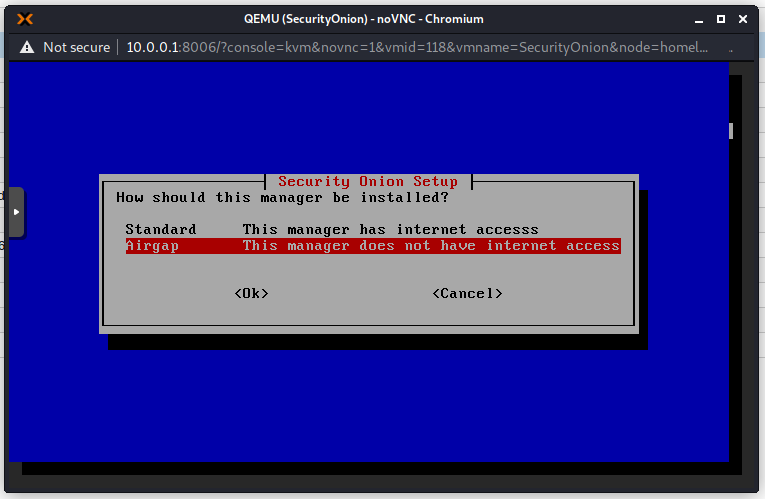
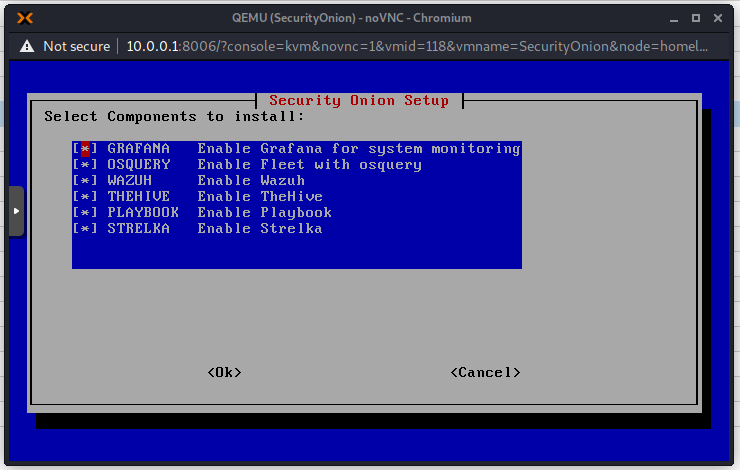
Use spacebar to make the selection and press Enter for OK. I will use the evaluation version as this is not a production environment. This setup in Proxmox is definitely not recommended in production!
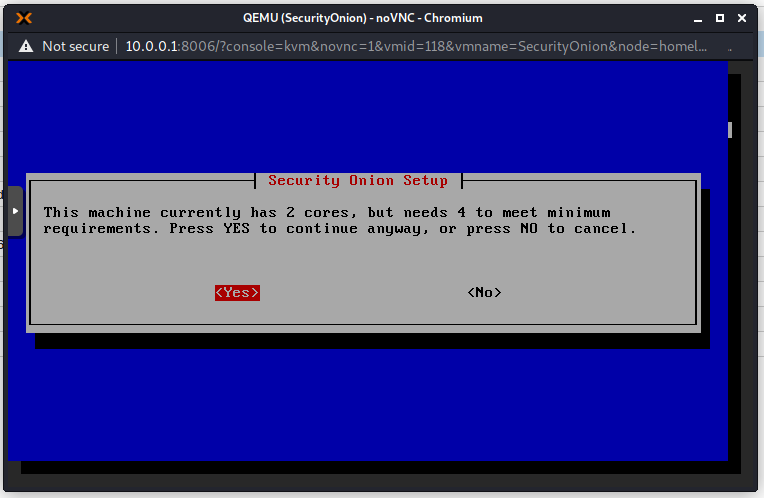
I get this warning because my hardware does not meet the minimum recommended specifications
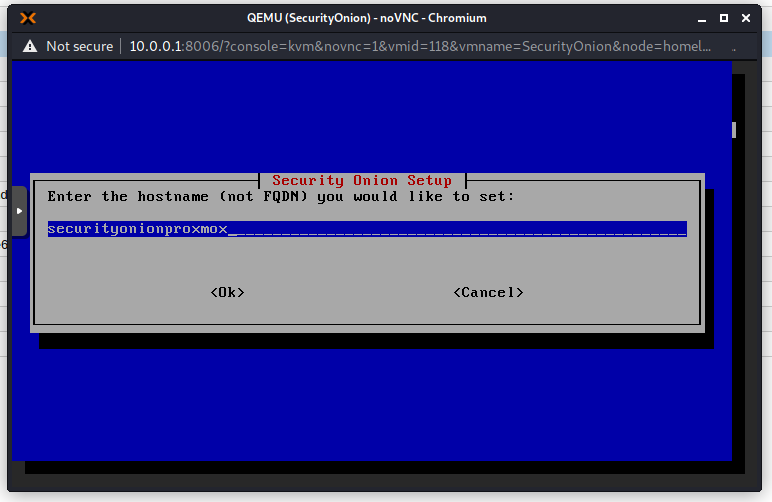
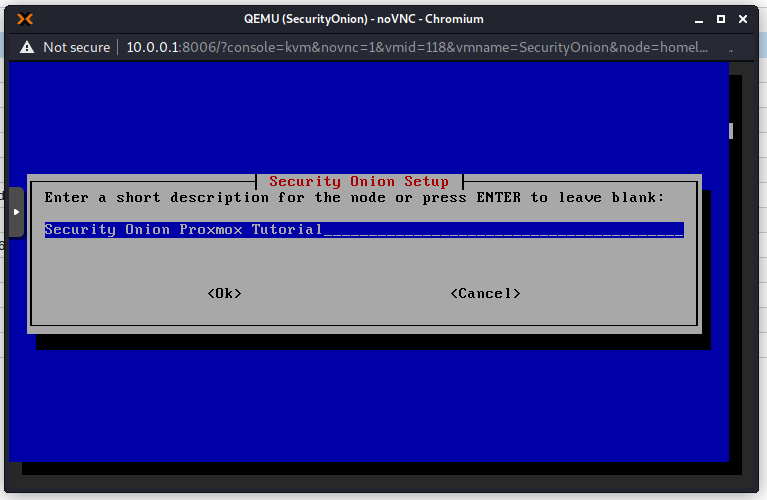
Choose a hostname. Try not to use the default hostname as it will give you extra warnings.
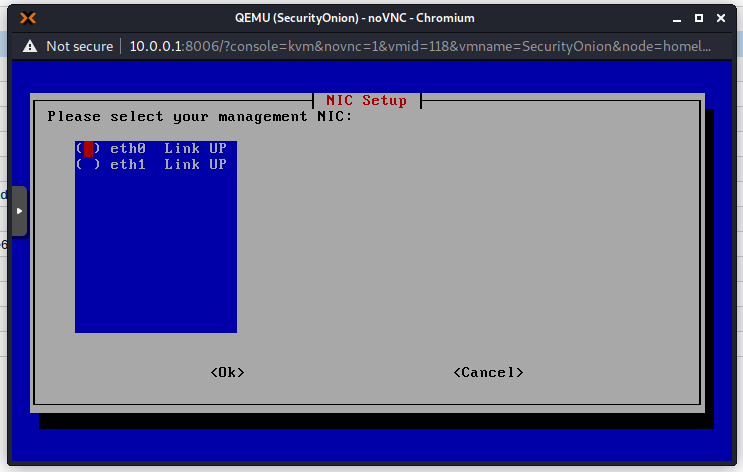
Choose the first NIC for management because that is the NIC that we connected to our Management Bridge.
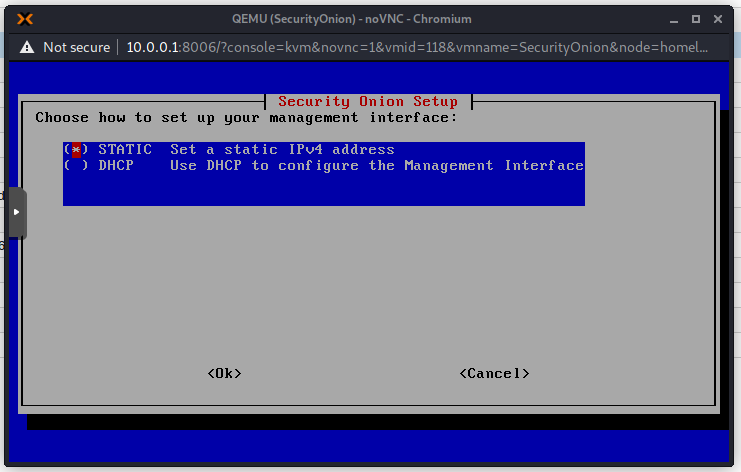
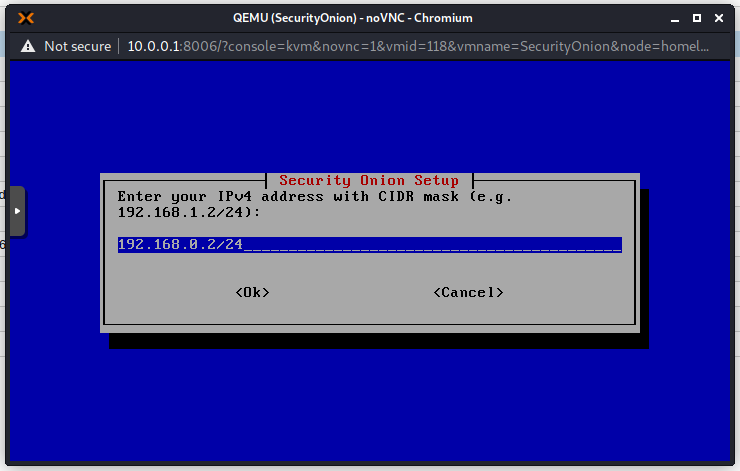
Choose a static IP address as we do not have a DHCP server on this network. It is also recommended to always use static IP addresses for this type of devices.
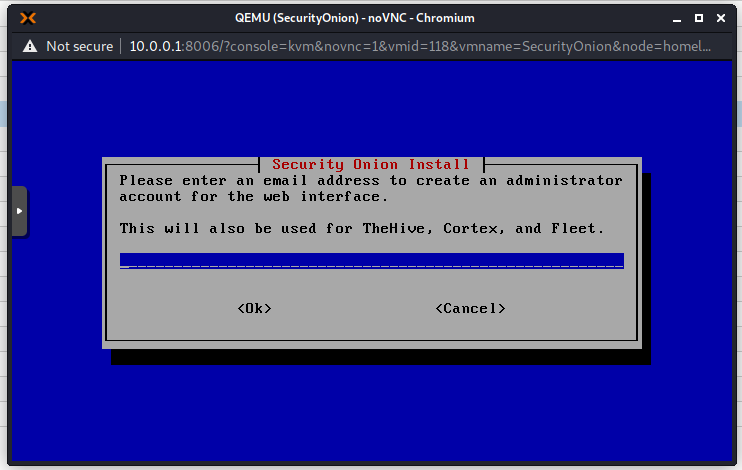
Add an email address that will be used to sign in to the Web Interface. This does not really have to exist for our purposes.

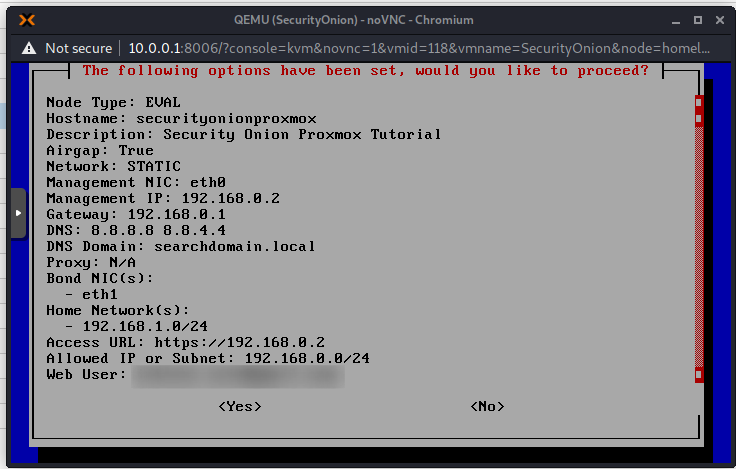
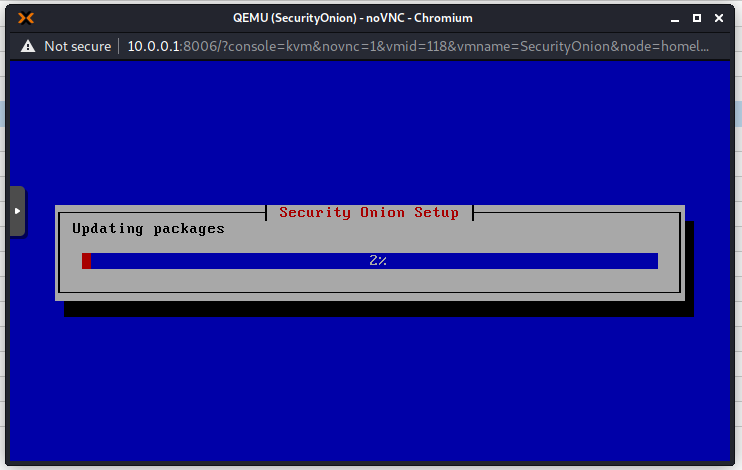
Now the installation will continue. This takes a long time, so go grab a coffee! On my machine it took about 1 hour.
Connect to Security Onion Web Interface
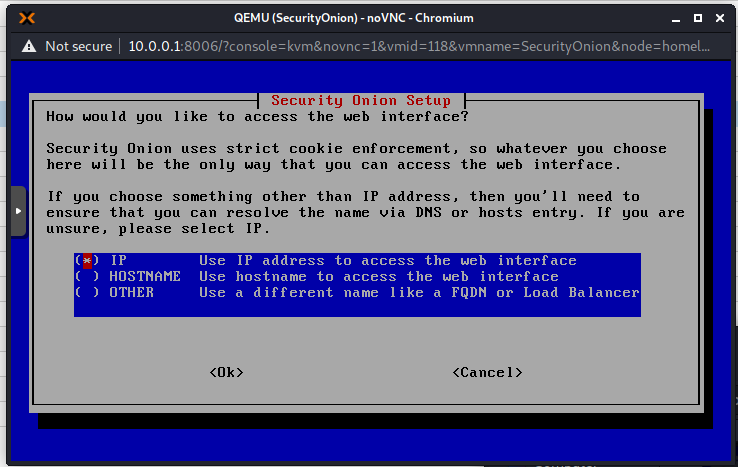
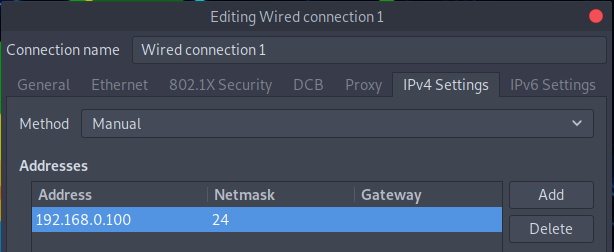
Change the network settings on the machine that you will use to access the Security Onion web interface.
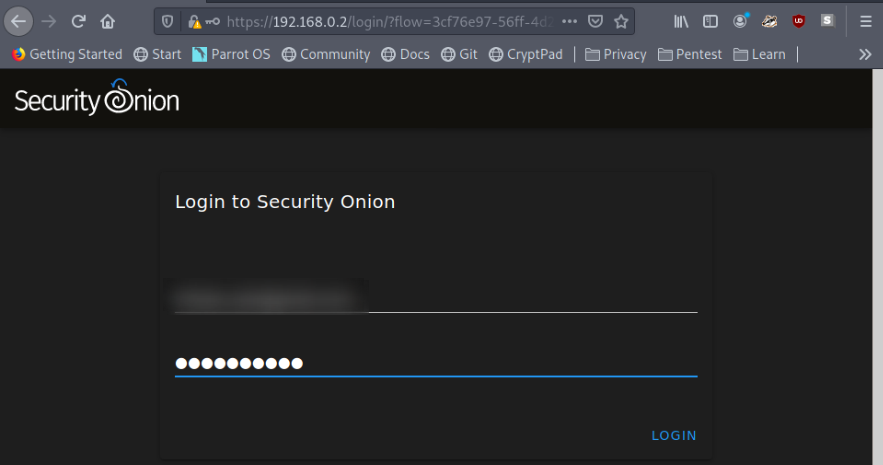
Navigate to the IP you chose for Security Onion. Mine is 192.168.0.2
You will get a warning due to the certificate being self-signed. In Firefox you can click on “Advanced” and then “Accept the risk and continue”. Use your email address account created earlier to login.
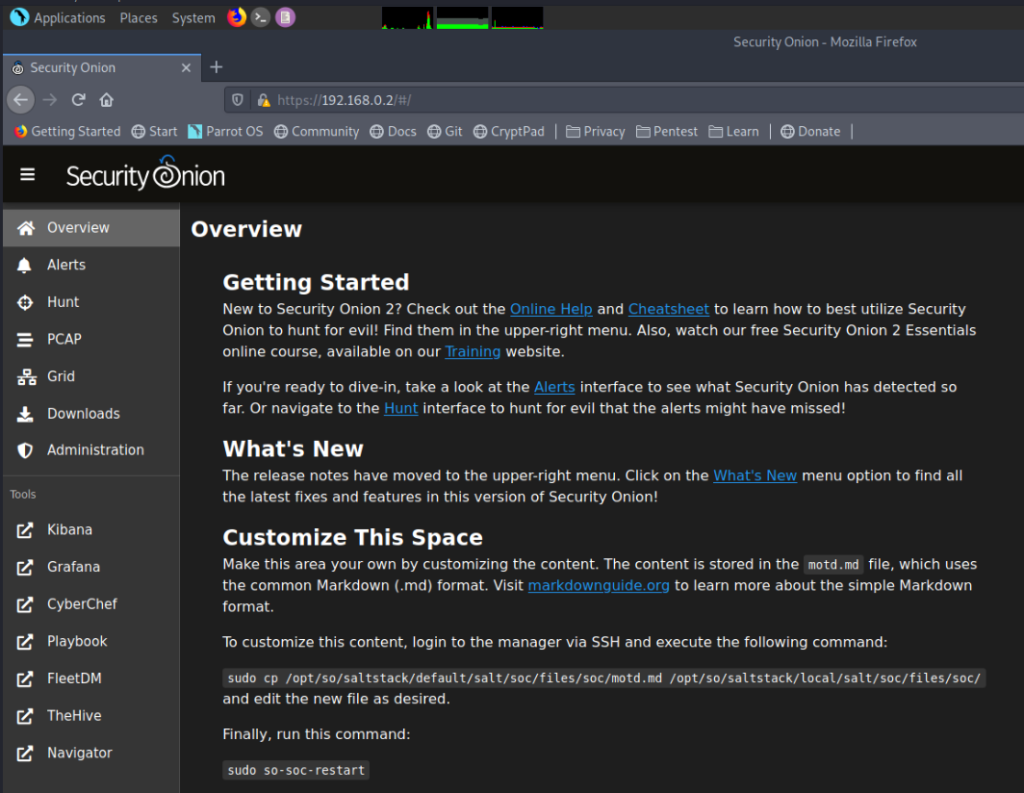
Now you will see the Security Onion Web Interface.
Almost there..
Create the Tap Port
Using the Proxmox web shell or SSH (my preferred method), login to your Proxmox node.
Run the following sequence of commands:ip -brie a
Look for the tap port name. My Security Onion machine ID is 118.
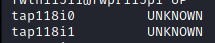
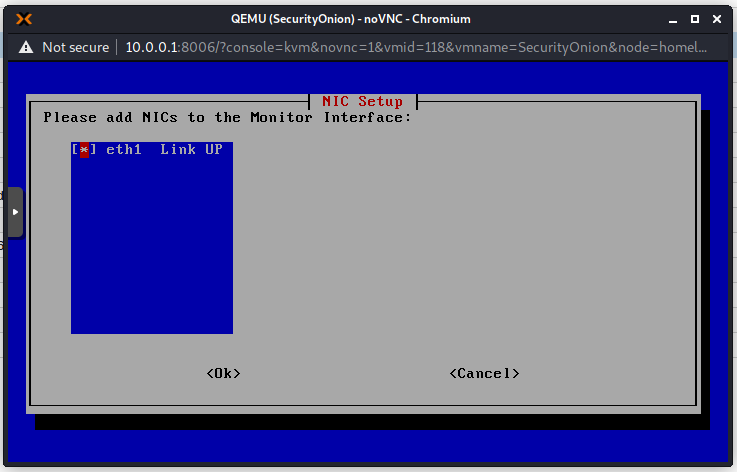
This command will create a mirror port for the interface connected to my Security Onion machine (ID 118). It is important to note that the first port, tap118i0 is connected to the monitor interface, so we need to create the mirror port on “tap118i1“
ovs-vsctl -- --id=@p get port tap118i1 -- --id=@m create mirror name=span1 select-all=true output-port=@p -- set bridge vmbr5 mirrors=@m
You should get something like this as the output.

NB: Everytime that the node is restarted this command needs to be run. You can add it as a cron job if you want.
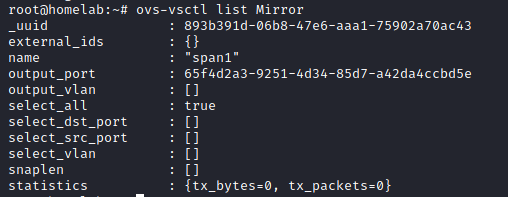
To confirm that the port was created or still exists you can run this command anytime:ovs-vsctl list Mirror
Final Testing
Now back on your Security Onion Web Interface, Click on the “Alerts Tab”. Acknowledge all the sample alerts by clicking the bell icon ![]() .
.
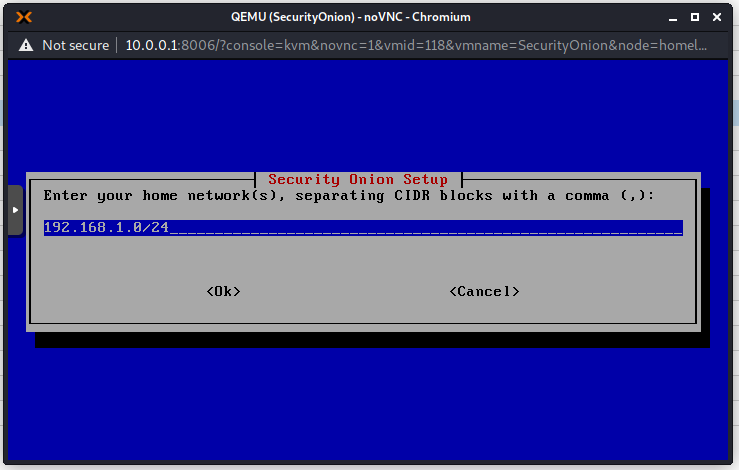
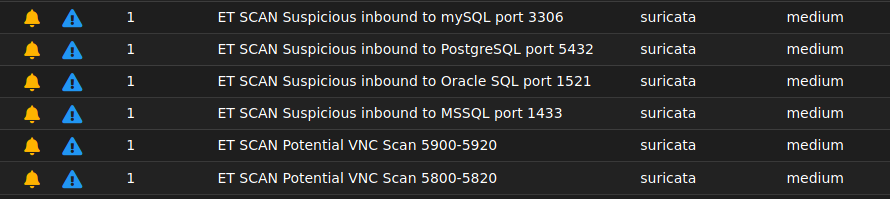
Now use any attacking machine (I use a Parrot machine) and target on the tapped network (192.168.1.0/24) and run an nmap scan. I have a target machine on 192.168.1.10 so I used the following:nmap -T4 -A 192.168.1.10
Click the refresh button on your Security Onion Web Interface and you should see the alerts..
Conclusion
Thanks for sticking with me till the end! This was a long and detailed guide. I give as much information as possible because I know how frustrating it can be when the “trivial” information is left out and you are just a beginner. I hope you enjoyed this post. If you need any extra information or have any questions about this installation, please leave a comment and I will try my best to answer your questions.
References:
Omar Santos – Security Onion, RedHunt OS, Proxmox, and Open vSwitch
https://santosomar.medium.com/security-onion-redhunt-os-proxmox-and-open-vswitch-6d6fbaaf0a51
Security Onion Website
https://securityonionsolutions.com/
3 thoughts on “Security Onion Installation in Proxmox”